This post will get you up and running with a developer instance of ServiceNow with Virtual Agent running.
It’s going to be FUN!
1. Get a Developer Instance
Start off by going to https://developer.servicenow.com.
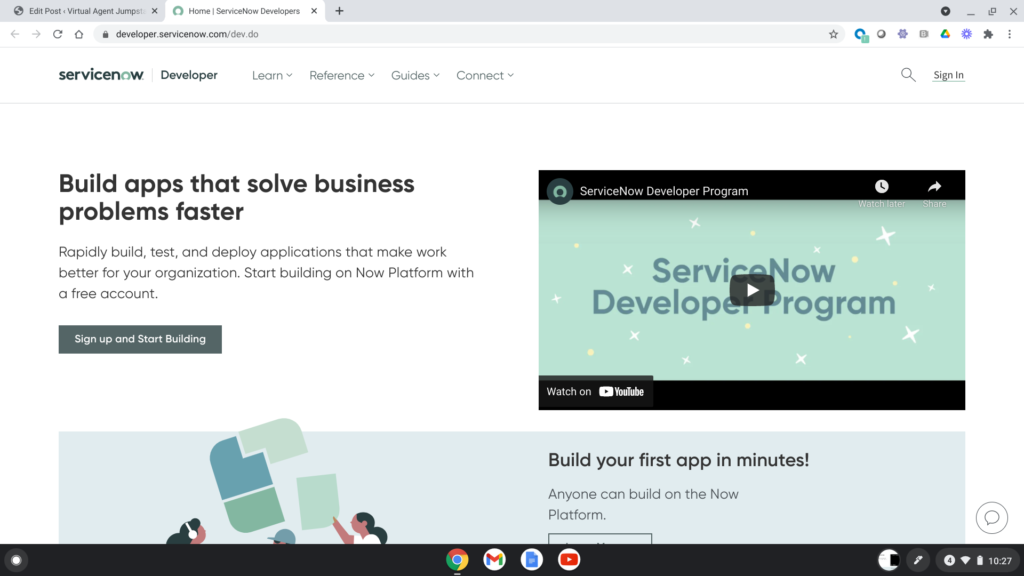
Next, sign up for an account. I’m not going to bother adding screenshots for this part because it will probably change after I post this. Suffice it to say that you need to give ServiceNow your email address and probably fill out a questionnaire.
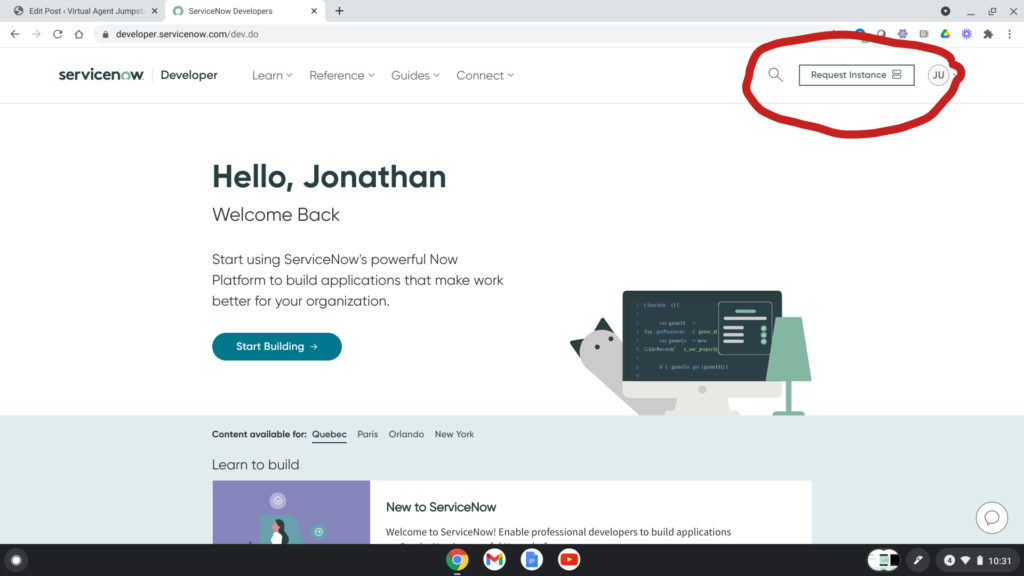
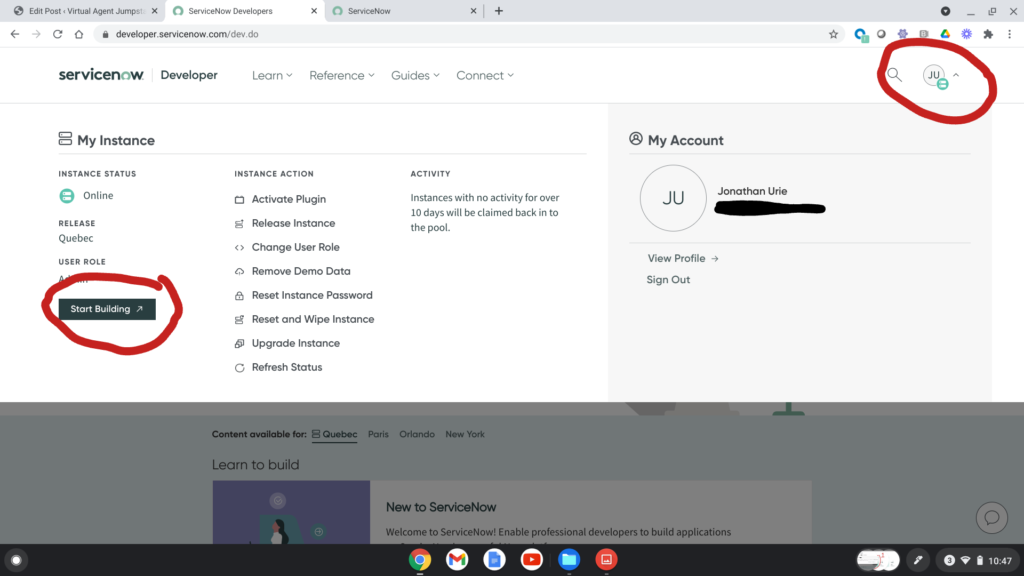
After that, you need to request an instance. As of the time of this writing, that option can be found in the upper right-hand corner of the site.
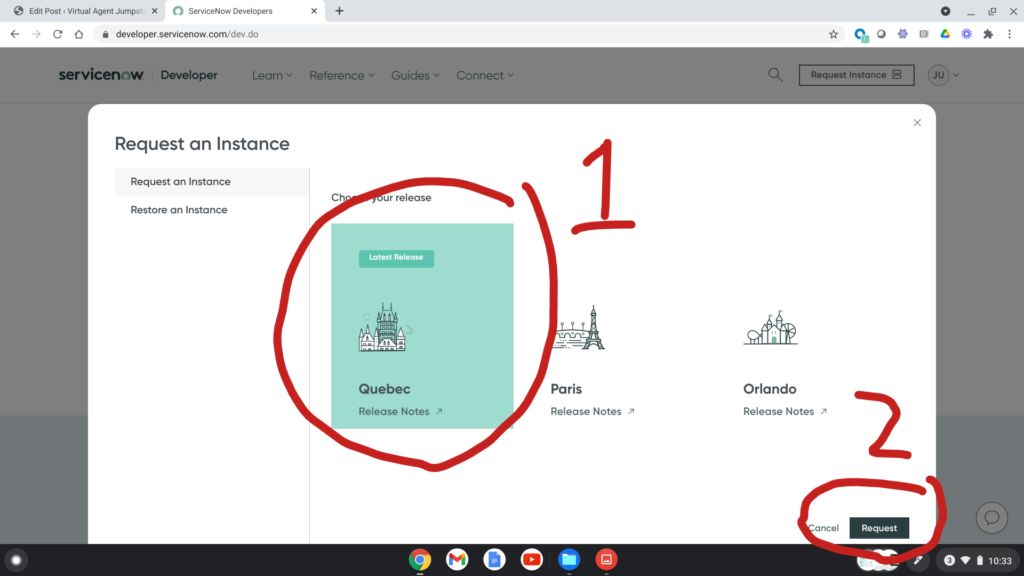
You’ll need to select what release of ServiceNow you want to work on. The current convention is to allow you to select the most recent named release or one of the previous two named releases.
Regardless, select a version and then request it.
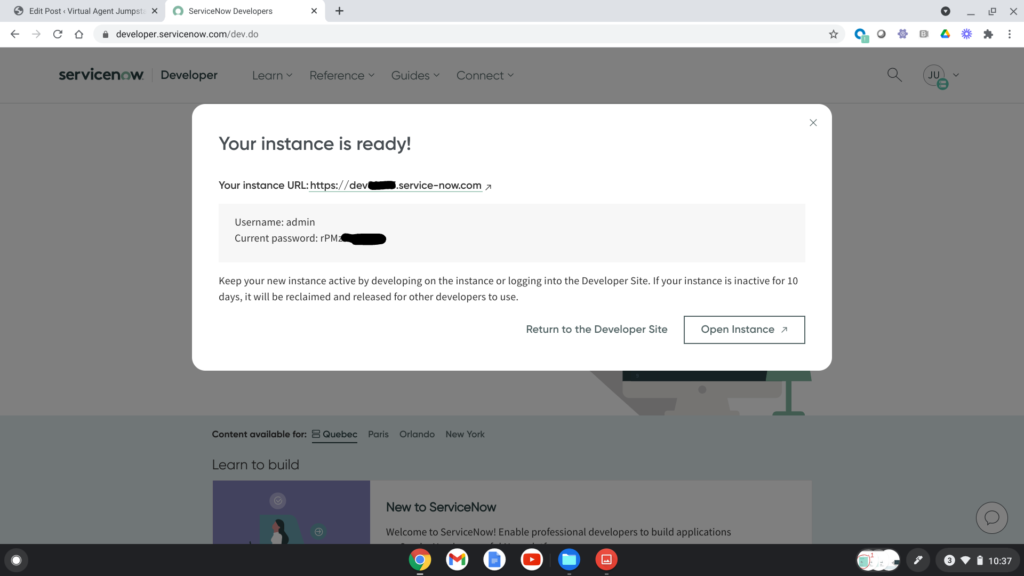
After a few moments of processing time, the site will let you know that the instance is ready to go!
Fun fact: back in the day (2009-ish), ServiceNow had a series of about 10 dev instances that were available to the community (dev01 through dev010, if memory serves). Anyone could log in and it was always entertaining to see what people were using them to test out.
Sometimes, you’d log in and see major brand logos in the upper left of the frame view and you’d know that some partner was demoing for a prospect or a new admin was testing out some new idea. There was a tacit understanding that you didn’t mess with other people that were in an instance, but sometimes POC’s would get wiped accidentally by someone logging in and dropping records. Sometimes people would log in after a refresh and reset the admin password so they’d have the instance to themselves for a few hours.
Shortly after that, ServiceNow started spinning up micro instances for the Knowlege Conference lab sessions en masse. You’d show up to the lab, get a lab manual with a unique instance name on the front and have access to it for the duration of the lab. I think that at some point, someone said “why don’t we do the same thing but for developers?”
Anyhow, after all that, you should be able to launch your instance from your profile anytime you want.
2. Install Virtual Agent
The next thing you’ll need to do is get Virtual Agent up and running in your instance.
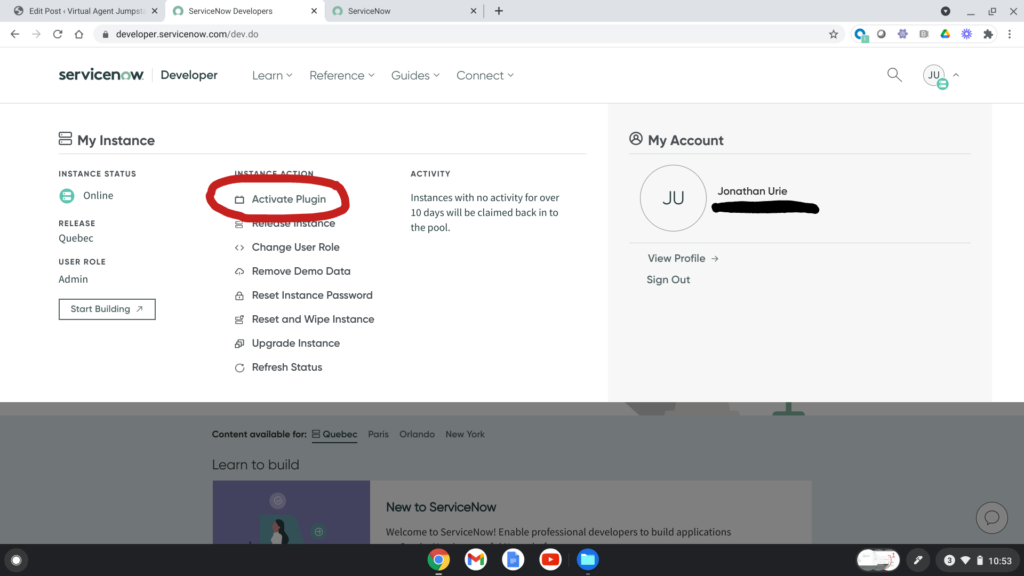
Go to your profile and select Activate Plugin.
Search for “Virtual Agent” and you should see a few options. The one you’re looking for (at the time ofo this writing and on the Quebec release) is “Glide Virtual Agent.”
Find that one and Activate it.
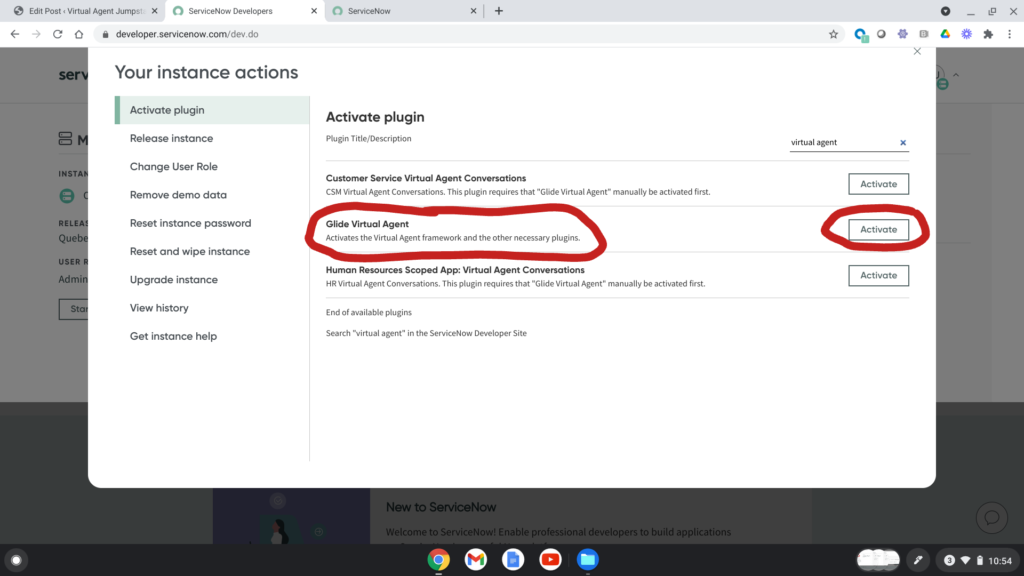
As an aside, the other options in this screenshot are pre-built conversations for Customer Service Management (CSM) and Human Resources. Basically, they each contain a set of conversations that ServiceNow thinks you might need in those contexts. The HR plugin, for example, has a few conversations about benefits and leaves.
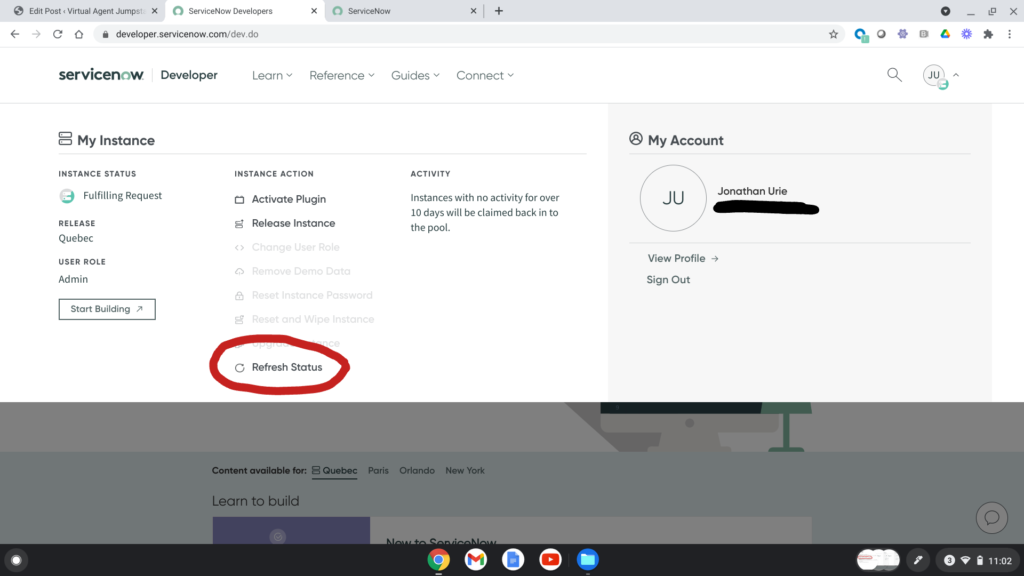
The Plugin activation time will vary depending on a number of factors. When I was writing this post, it took 5 minutes to finish activating. When it’s done, the developer site will send you an email.
Alternatively, you can go to your profile and select “Refresh Status.”
3. Confirm That it Worked!
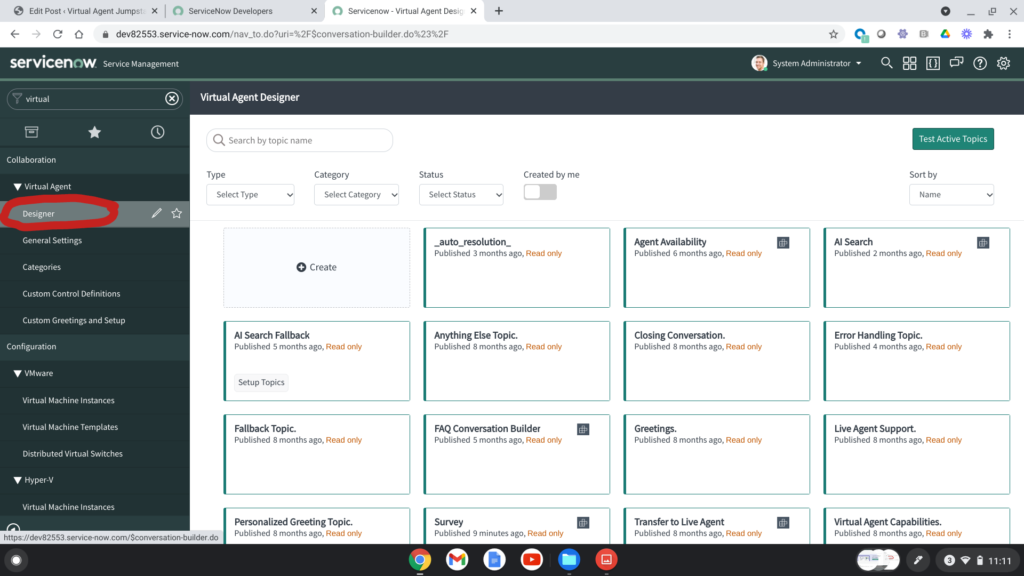
To make sure everything worked, go to your instance and confirm that the Virtual Agent Designer module shows up in the Application navigator:
And that’s it!